My favorite homemade pasta recipe
I know, we have a ton of pasta recipes and pizza dough recipes. The fact is, the ingredients are similar […]
My favorite homemade pasta recipe Read Post »
RecipesI know, we have a ton of pasta recipes and pizza dough recipes. The fact is, the ingredients are similar […]
My favorite homemade pasta recipe Read Post »
RecipesThis is another gem of a recipe that comes from my favorite cookbook, Breaking Bread in L’Aquila. One of the best parts of this recipe is that it is so simple.
Piselli e Guanciale – Peas and Bacon Read Post »
RecipesSunday Gravy versus just a regular meat sauce? Maybe it’s a ragu? To be honest, I’m not a purist who
Sunday Gravy, Ragu or Italian Meat Sauce Read Post »
Recipes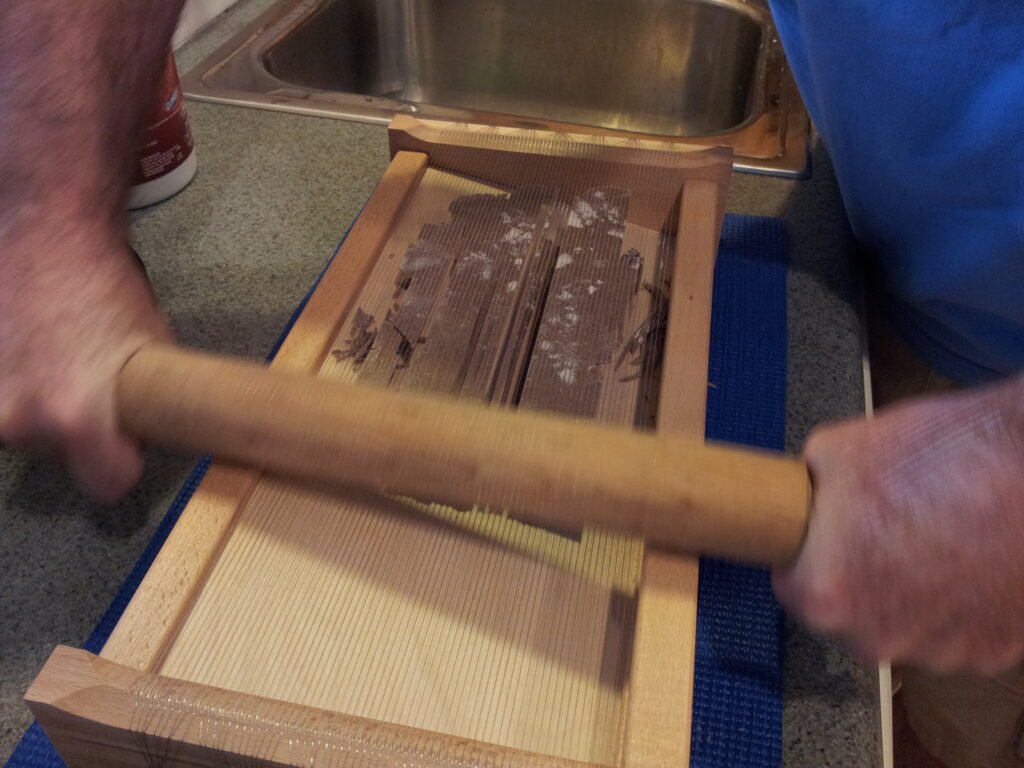
OK, this was an experiment. I’ve only made pasta from scratch twice before. Both times I followed the recipes on
Buckwheat Pasta on the Chitarra Read Post »
RecipesLentils are supposed to bring you good luck for the new year, according to Italian tradition. This tradition goes back
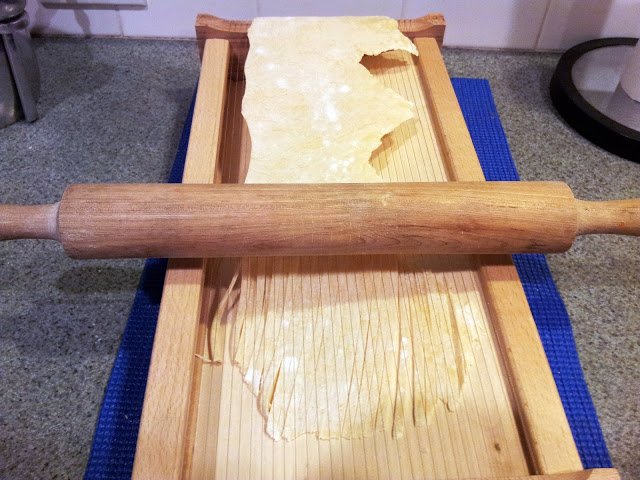
This is our new toy – a chitarra pasta cutter. This pasta cutting tool comes from Abruzzo, Italy. The device
Chitarra pasta cutter Read Post »
Recipes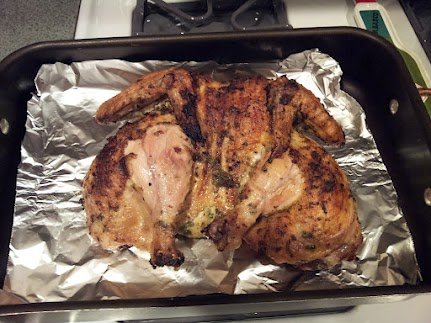
Tonight we decided to try something a little different for our chicken. Rather than roasting it, we wanted to grill
Rosemary Grilled Chicken Read Post »
Italian, Main Dishes, Recipes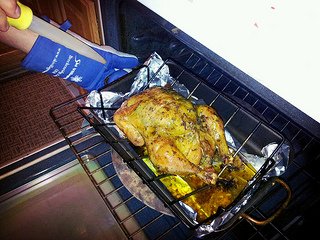
This recipe for Roasted Chicken with Rosemary & Garlic comes from the book Breaking Bread in L’Aquila by Maria Filice.
Roasted Chicken with Rosemary & Garlic Read Post »
Italian, Main Dishes, Recipes