Slow cooked pork butt
This past weekend, we cooked a pork butt in the slow cooker. It’s a huge 8 lb piece of meat […]
Slow cooked pork butt Read Post »
RecipesThis past weekend, we cooked a pork butt in the slow cooker. It’s a huge 8 lb piece of meat […]
Slow cooked pork butt Read Post »
RecipesWe found a great bargain on sweet potatoes and stocked up on them. When we got home, we started looking
Roasted Rosemary Sweet Potatoes Read Post »
Recipes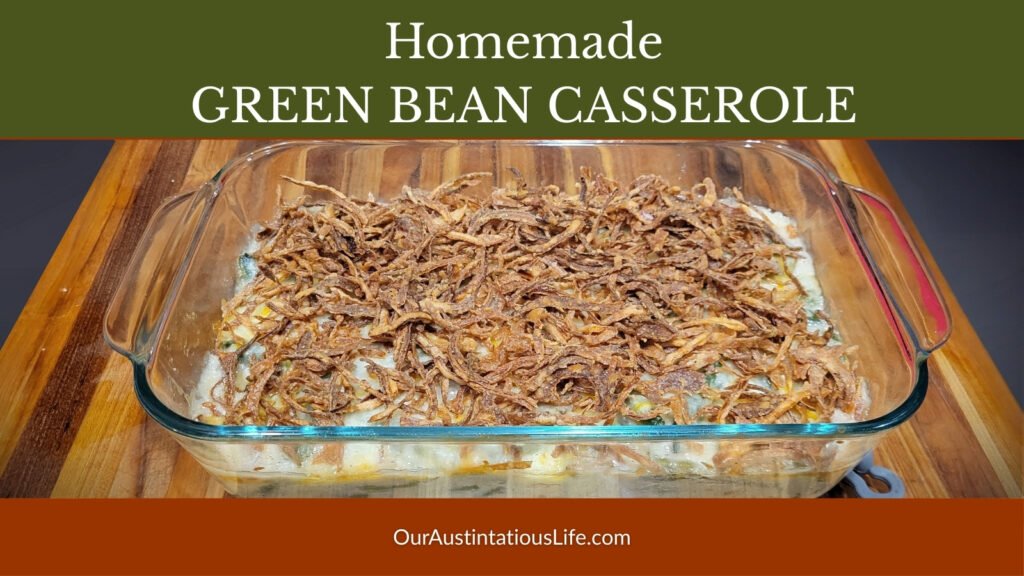
This is our family’s version of green bean casserole — the first time we ever made it from scratch with
Homemade Green Bean Casserole – Classic Holiday Side Dish Read Post »
Holiday & Entertaining, Recipes, Salads & Sides, Seasonal, Sides, Vegetarian / Veg-Forward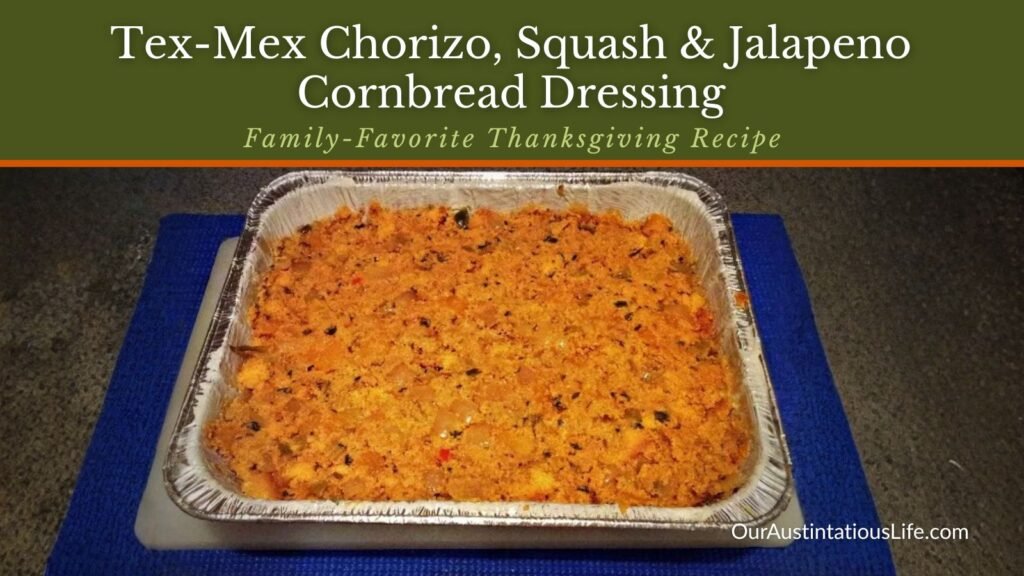
For nearly twenty years, Thanksgiving at our house has meant one thing — Uncle Brian and Uncle Curt’s smoked turkey
Tex-Mex Chorizo, Butternut Squash, and Jalapeno Cornbread Dressing Read Post »
Holiday & Entertaining, Recipes, Salads & Sides, Sides, Tex-Mex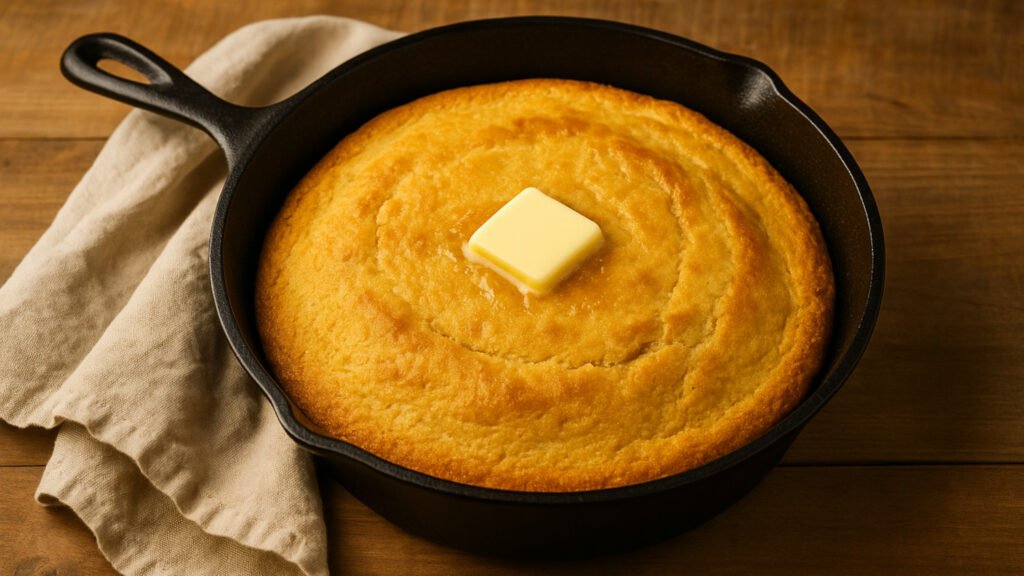
Updated Nov 4, 2025: When I volunteered to make the cornbread for our Thanksgiving stuffing back in 2012, I thought
Cornbread from scratch Read Post »
Holiday & Entertaining, Recipes, Salads & Sides, Sides, Stocks, Basics & How-Tos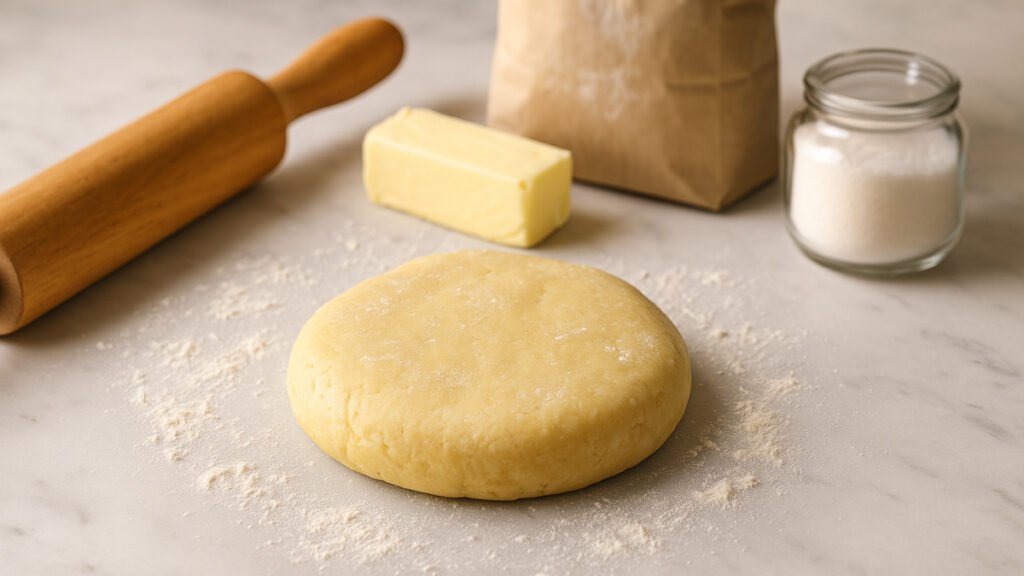
It’s now two days before Thanksgiving, 2012. As usual, the paper has a story about pies so I am thinking,
Simple Pie Crust (Pate Brisee) Read Post »
Desserts, Pizza & Dough, Recipes, Stocks, Basics & How-Tos
As some of y’all know, Movember is a fundraising and awareness raising campaign that goes on around the world. This
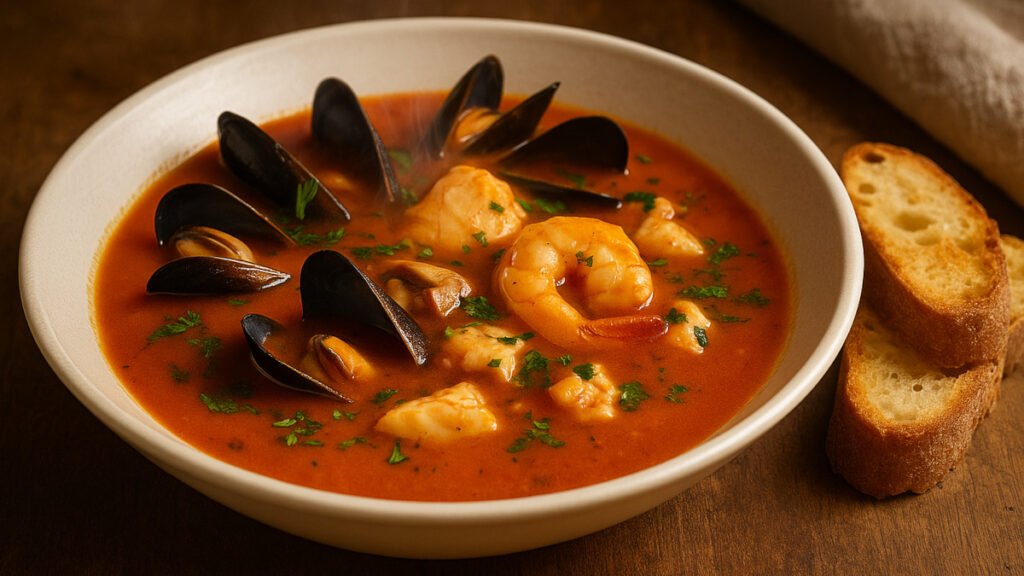
I’ll admit, I’d never had this fish stew. Maybe that’s because I haven’t been to San Francisco before and we
Cioppino – San Francisco Fish Stew Read Post »
Italian, Recipes, Seafood, Soups & Stews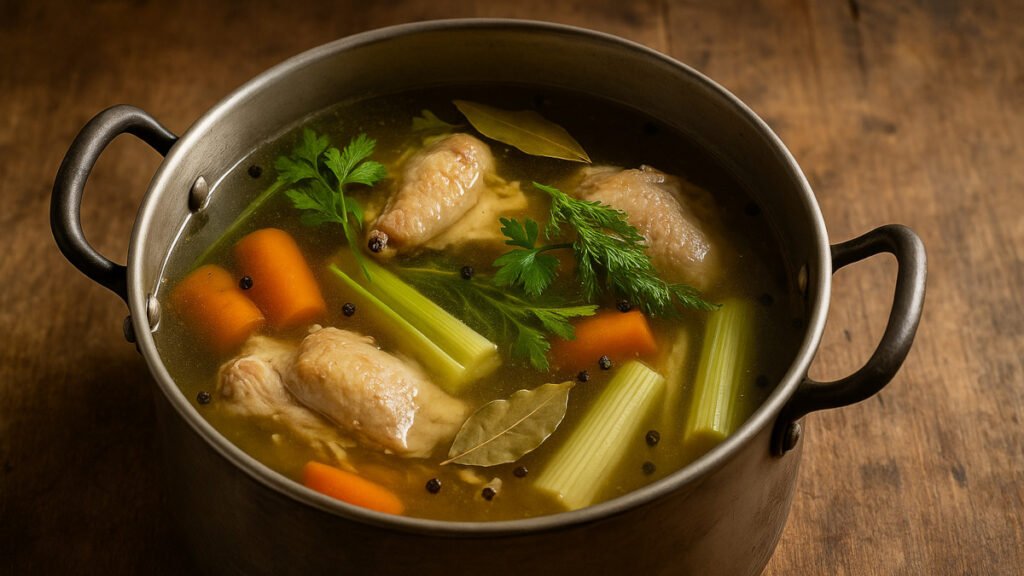
This is a more complex chicken stock that came with the recipe I found for the chicken potpies in a
Homemade chicken stock Read Post »
Recipes, Soups & Stews, Stocks, Basics & How-Tos
This Pate Brisee recipe is for our Chicken Potpie in a pumpkin. Although, I have an idea that I can