The Big Texan Bourbon & Grapefruit Cocktail
We found a couple versions and had to try it. We didn’t have grapefruit juice but we did have some […]
The Big Texan Bourbon & Grapefruit Cocktail Read Post »
UncategorizedWe found a couple versions and had to try it. We didn’t have grapefruit juice but we did have some […]
The Big Texan Bourbon & Grapefruit Cocktail Read Post »
UncategorizedOK, we tried our hand at making pizza dough again. We tried in the past and just couldn’t get the
So many ways to make a pizza dough! Read Post »
Uncategorized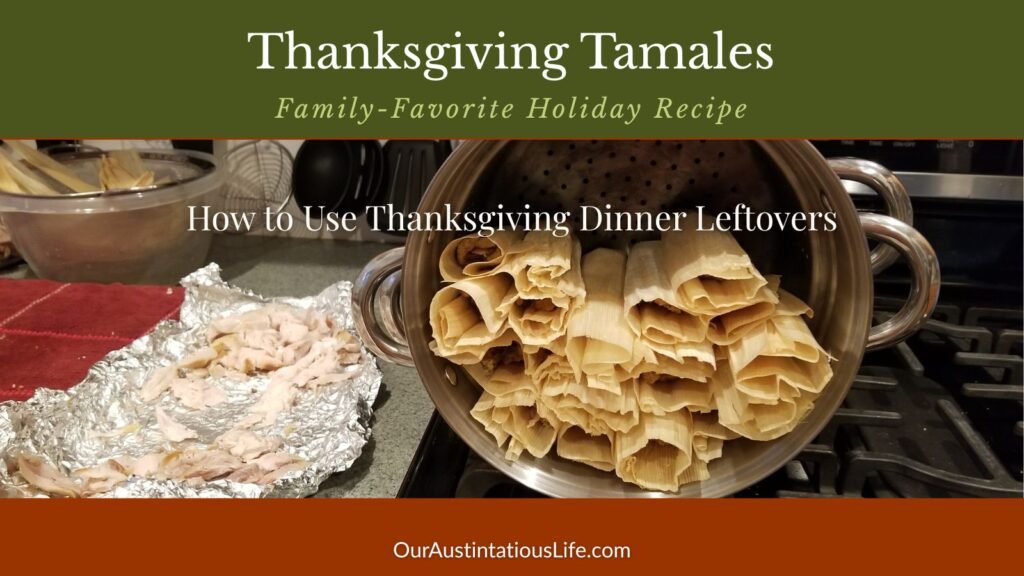
UPDATE – November 28, 2025:I first posted this Thanksgiving Tamales recipe back in 2020, but it was definitely ready for
Thanksgiving Tamales – how to use leftovers from Thanksgiving dinner Read Post »
UncategorizedHere’s an interesting hot sauce from one of the bloggers I follow in Italy. I can’t wait to try this
Fusion Hot Pepper Sauce Read Post »
UncategorizedWhen we were getting the shrimp ready for our ravioli, I saw a recipe mention that you should use the
The WordPress.com stats helper monkeys prepared a 2014 annual report for this blog. Here’s an excerpt: A San Francisco cable
Welcome to WordPress.com! This is your very first post. Click the Edit link to modify or delete it, or start